- My Time at Sandrock on Steam
- My Time at Sandrock on Nintendo Switch
- My Time at Sandrock on PlayStation
- My Time at Sandrock on Xbox
Thinking about buying My Time at Sandrock but need a little guidance? Well, first of all, you can check out my My Time at Sandrock review if you are still on the fence about your purchase. But if you are mainly looking to get started on the right foot, these tips from a seasoned player (me) can help!
This article may contain minor spoilers for gameplay and story beats, though I always try not to reveal any major plot twists or surprises. I’ve blacked out some of the potential worst offenders; highlight at your own risk!
My 12 best My Time at Sandrock Tips for Beginners
Let’s get started!
1. Don’t Buy the Nintendo Switch Version
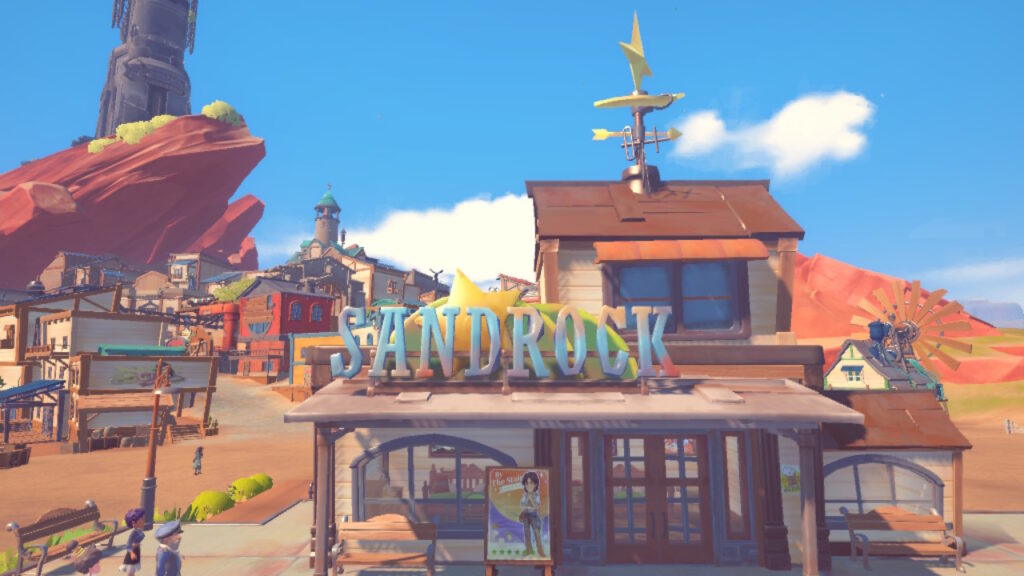
Much like My Time at Portia, My Time at Sandrock struggles to run well on the Nintendo Switch. I experienced frequent lag, a few crashes, floating/glitching assets, and memory low warnings quite regularly. On top of that, the Nintendo Switch version didn’t launch with as much content as the PC version. If you’re thinking handheld for this one, Steam Deck is the way to go.

2. Be Punctual for Festivals and Events
Many festivals and events will start without you. If something says to “be there by 18:00,” that’s exactly when you should be there. I missed out on a few festivals and ceremonies because I lost track of time gathering resources in the desert. Be punctual!
3. Save for a Stable and Horse ASAP
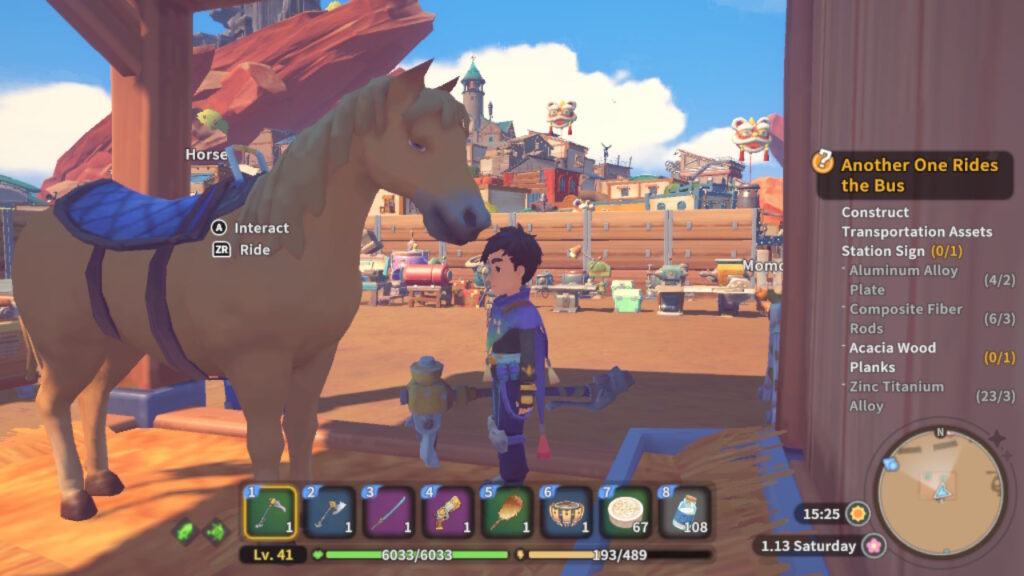
There’s so much to focus on in the early game that a stable might not seem like a priority. After all, you can just rent a mount for the week. But the Gols add up fast! The world map of My Time at Sandrock opens way, waaay up as the game goes on and you’ll appreciate the extra speed. Your horse follows you around as soon as you ride it once per day, making it a hassle-free companion for your exploration.
Pro Tip: Once you unlock the receipt, carry a Yakmel Station around in your bag. That way, when you see a fast travel point, you can set it up right away without having to come all the way back on foot.
4. You Can Toggle Between Storage Boxes
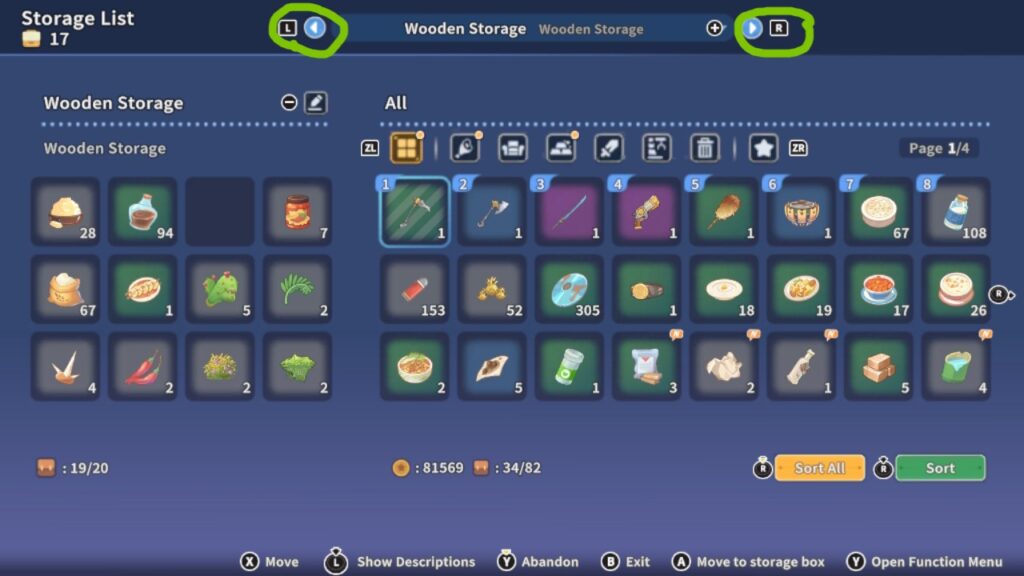
I hate to admit this but it took me way too long to realize you can toggle between all of your storage boxes using L1 and R1 on Nintendo Switch. For PC, I believe it’s the left and right arrow keys or a mouse click on the associated menu button. Inventory management is a huge part of the game and this knowledge will save you a ton of time.
5. Use the Compendium Religiously
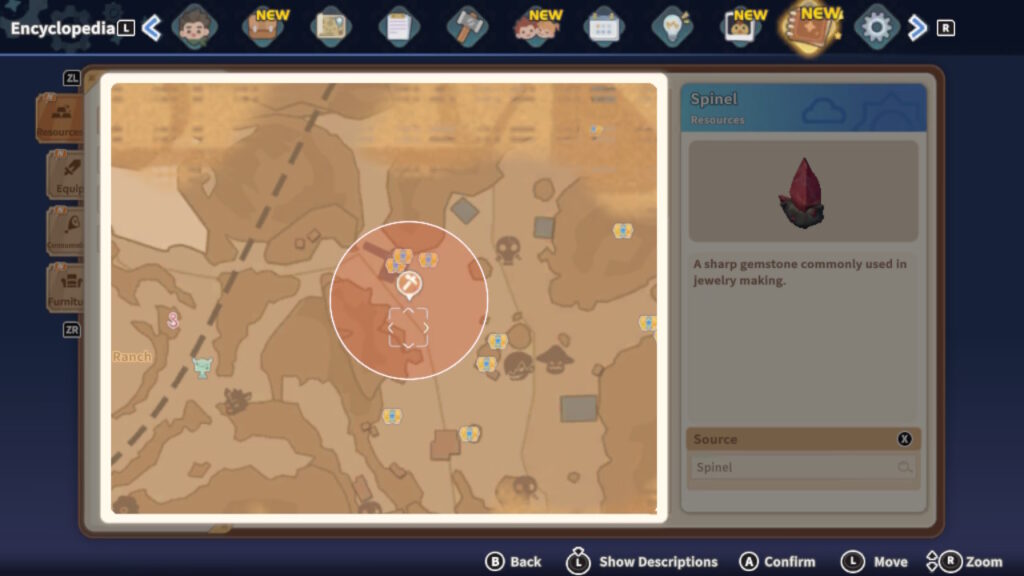
Can’t remember where you picked up an item? Check the compendium! You can access it in your main menu under the Encyclopedia tab. Using the Items compendium, you can see everything you have gathered before and exactly where it can be found on the map.
Pro Tip: Haven’t unlocked the compendium entry for the item yet? No worries! Check your blueprints. They often have hints pointing you in the direction of where you can find resources you have yet to uncover.
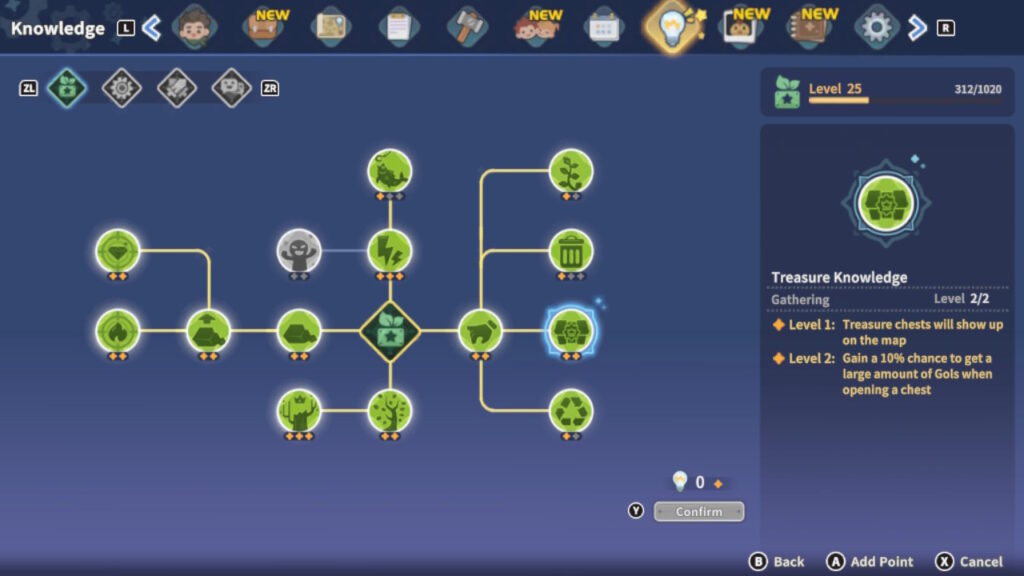
6. Unlock THIS Skill Before Treasure Hunting
Treasure chests are scattered all around the desert landscape and you can even unlock a skill to pinpoint them on your world map. However, the rewards are made much more lucrative if you unlock Treasure Knowledge Level 2 under the “Gathering” skill tree. This gives you a 10% chance to earn a substantial amount of Gols in each chest. It’s a pretty easy unlockable so you might as well hold off on treasure hunting until you’ve grabbed it.
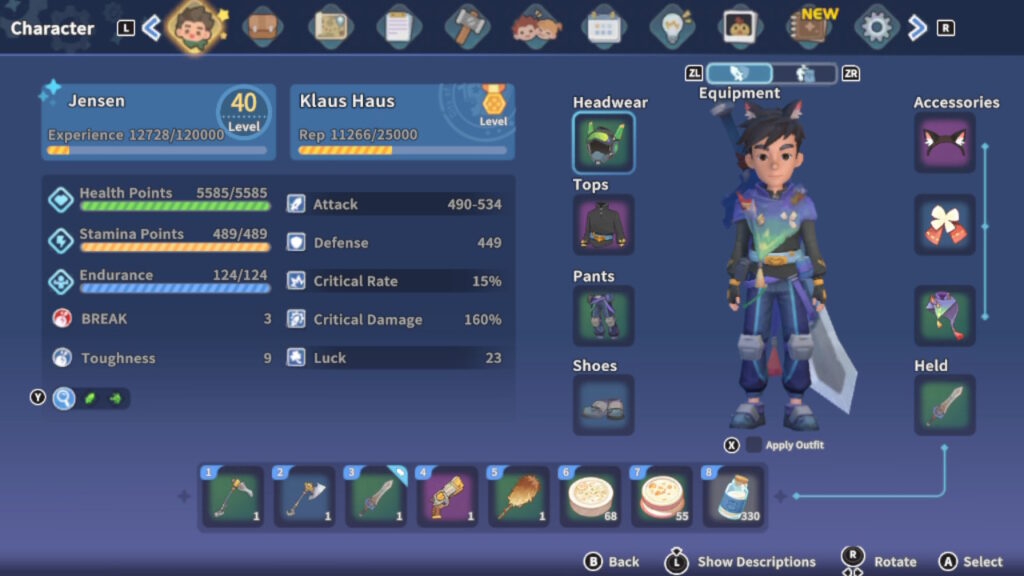
7. Level 40+ is Appropriate for the Final Act 2 Mission
While this isn’t essential, there are a few things you should know about the mission and battle at the end of Act 2:
- There is a difficulty spike compared to the rest of the combat in the game
- Your opponent will be over level 40
- You can’t “turn back” to prepare upon starting the quest
Be sure to level up your clothes, weapons, and accessories as well as collect health-restoring food items before you attempt this challenge. I don’t want to give away too much but you’ll know you are about to embark on this dastardly quest when you are asked to build a “Transport Basket” to get you there.
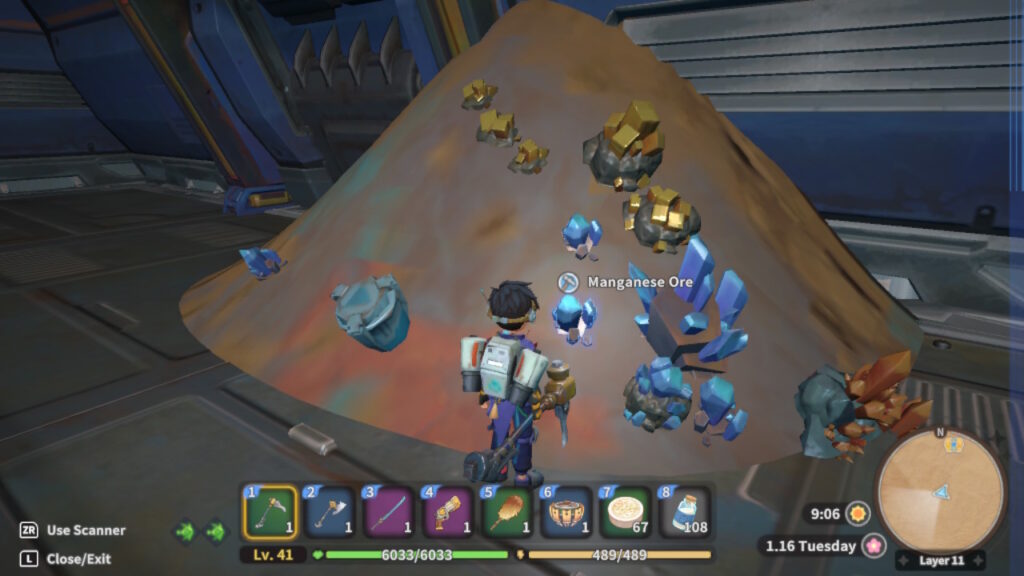
9. Use Mining to Level Up Quickly
Need to hit level 40 before the big fight? Or just looking to grind because it’s cozy and mindless? Mining is a super easy way to level up fast. Any action you take gives you experience and mining is one of the few activities that is all action. Every pickaxe swing is exp for you! Even later in the game, when I needed more exp per level to advance, it only took about 5-6 straight days of mining (and using my machines) per level.
To prevent having to “grind,” spend any downtime in the mines collecting materials and experience for later.

10. Like Somebody? Prioritize Socialization!
Kind of spoilery:
Without saying too much, not every character sticks around for the long haul. Make sure you carve out time to befriend or woo your Sandrockians of choice before the third act!
11. Dating Spots Ranked from Easy to Hard
My Time at Sandrock has a) way too much to do and b) an overly complicated socialization and dating system. If you want to find The One and get married, you are going to have to ensure you dedicate time each week to taking the apple of your eye out on a date.
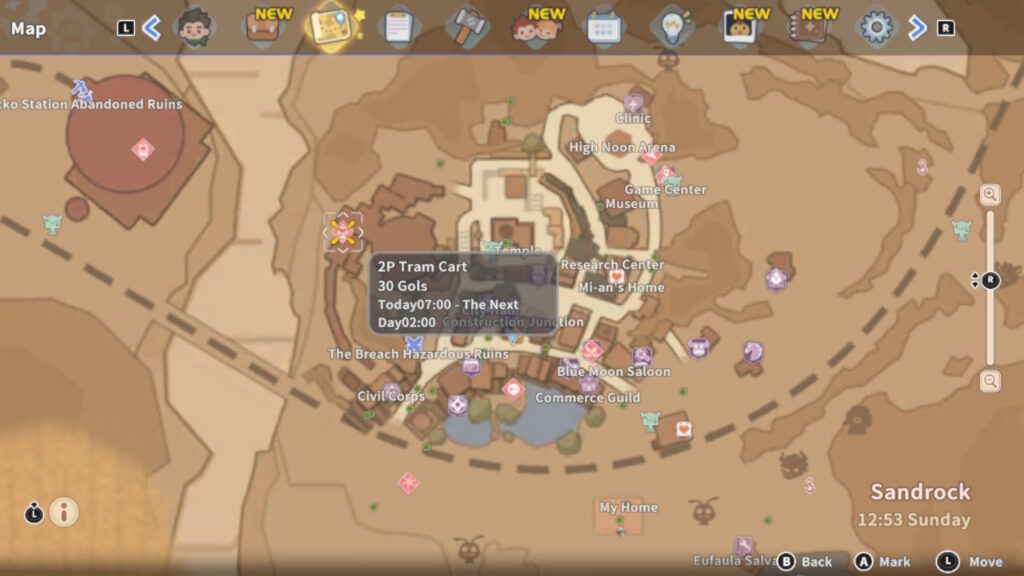
Once weekly, you’ll be able to activate the “Play” interaction and the NPC will follow you around to one of many date spots on the map (dotted pink). Here’s a dummies guide for the easiest ways to woo them seeing as we don’t have time to waste:
- Chat by the Oasis: Easy and free
- Tram Cart: Easy and cheap
- Meal at the Blue Moon Saloon: Easy but costs Gols
- Whack-a-Mole: The least insufferable mini-game, cheap
- Fireworks: Easy but you’ll need to craft fireworks for it
- Sand Painting, Sand Sledding, Game Center Arcade: Annoying mini-games, chance of failure
12. Burgess is Serious About Not Chopping Trees
Again, kind of spoilery:
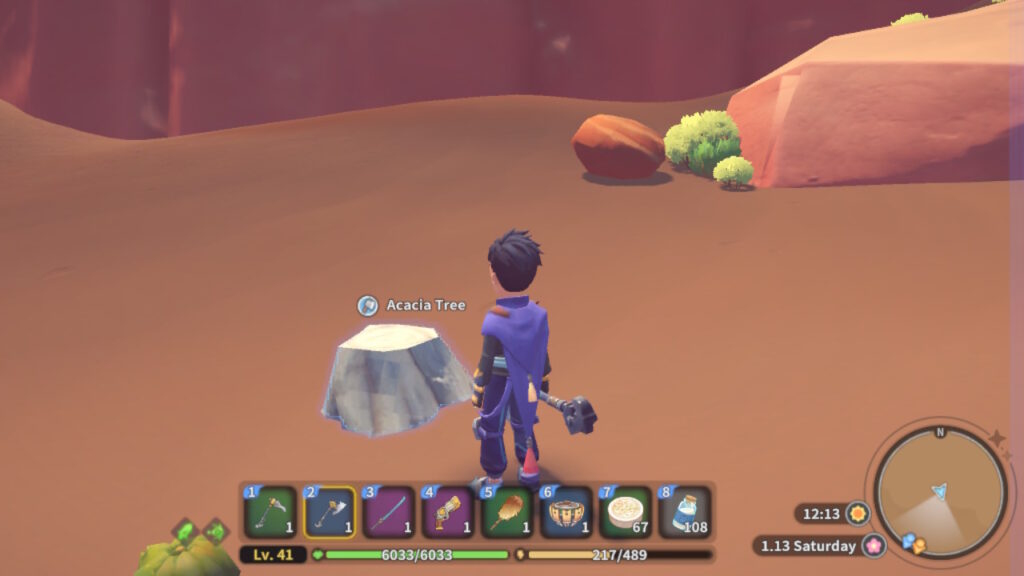
If all goes according to plan you should activate a cutscene with Burgess while naturally progressing in the early parts of the game where he warns you not to cut down trees around Sandrock. Although nothing else is said about this for quite some time, he is serious. Every tree you savage is being meticulously tallied! Well, not every tree. The qualifiers seem to be:
Only Cactus Tree, Cactus Flower Tree, and Dry Boxtree count. Anything tagged as a “bush” in the encyclopedia doesn’t count (ie. Sisal Trees). You must cut the tree all the way down to count; a few whacks won’t do it. Trees outside of the city limit DO count against your total. You may be able to chop them without penalty if no NPCs are around to see you (players are still testing/debating this).
Here’s the best explanation I’ve found so far: Reddit help.
Conclusion
Do you have any other hot tips for newbies to My Time at Sandrock? Is there something that I missed that you have questions about? Let me know, I’m always happy to expand my articles for reader feedback!
Stay cozy, gamers!
